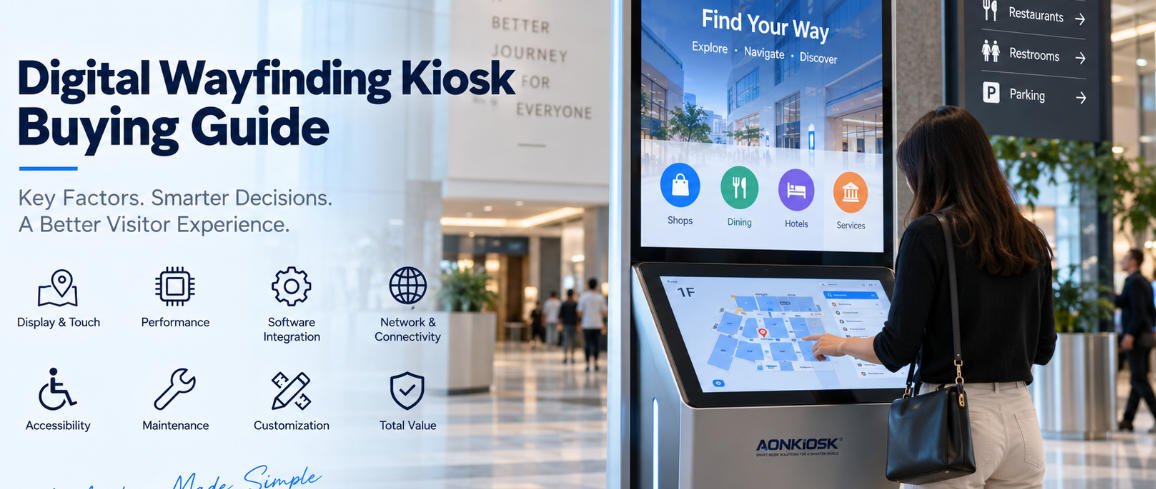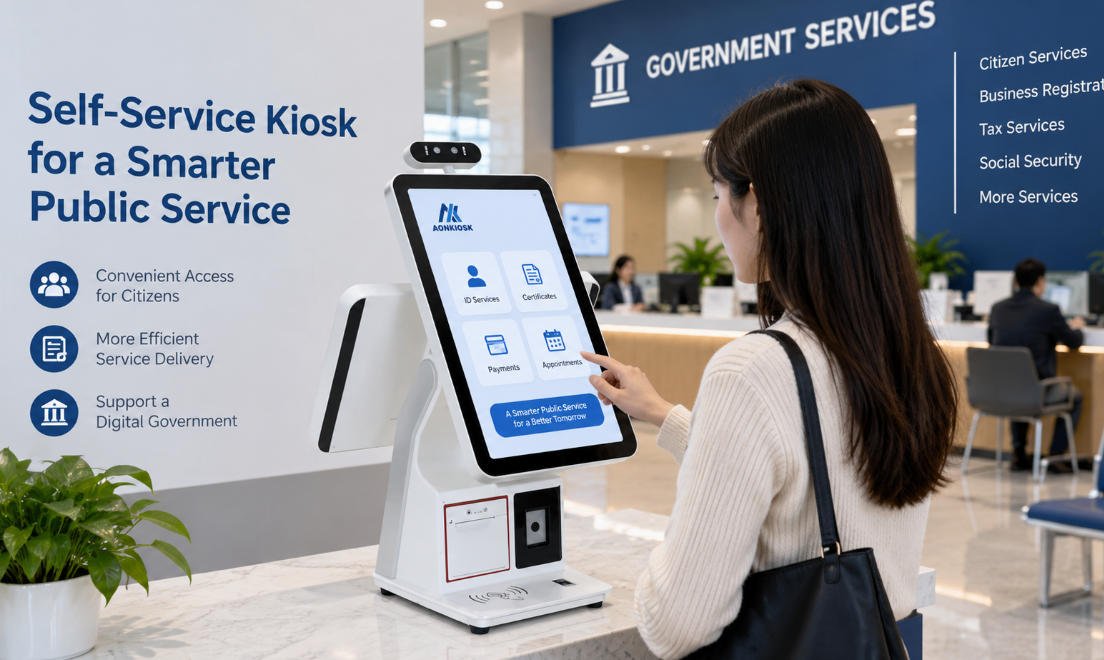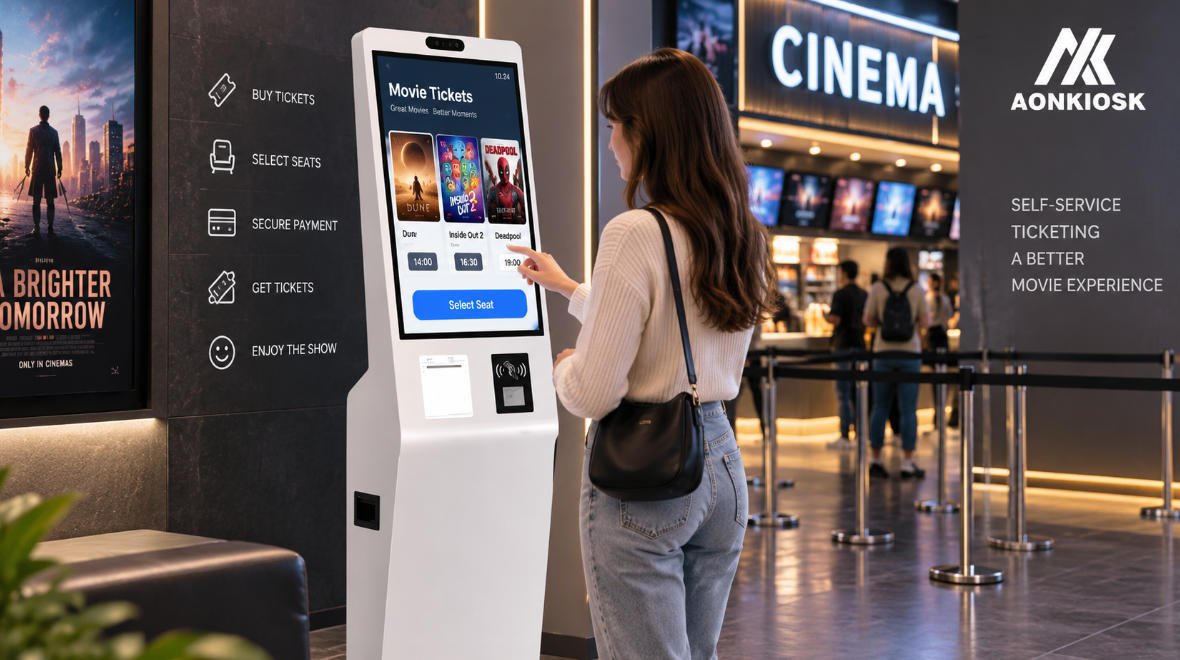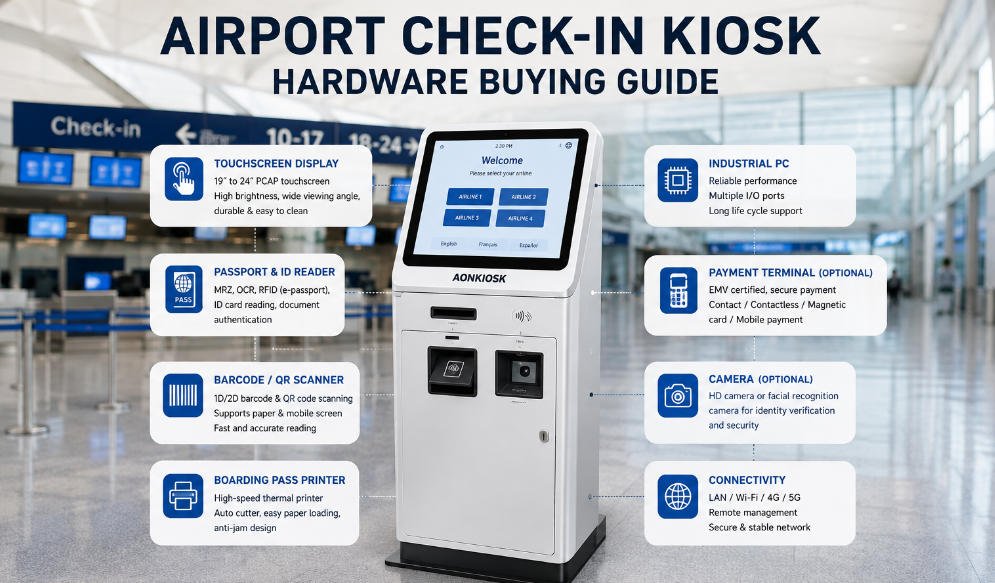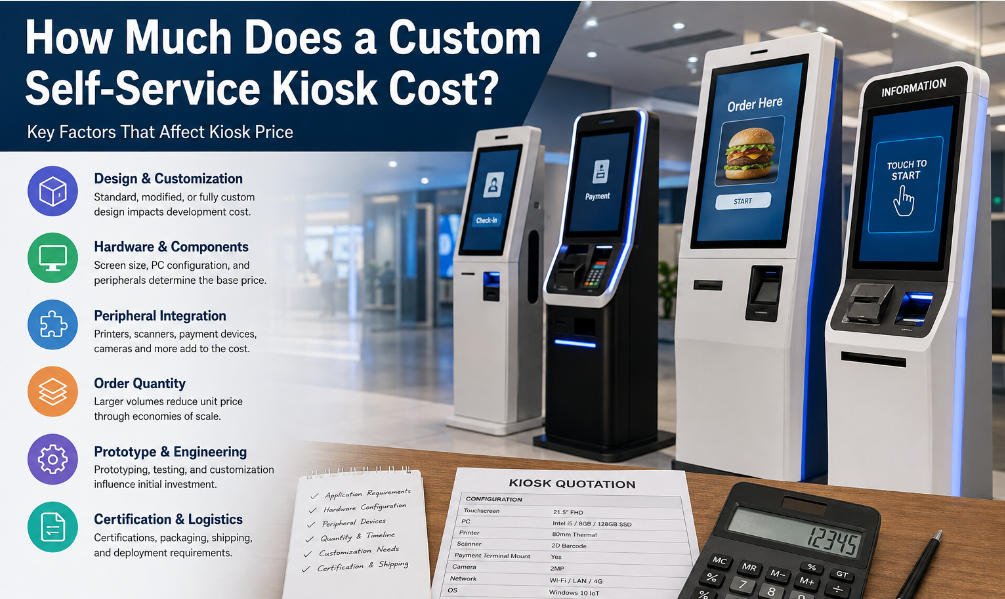






Une structure de borne au sol est plus qu’un simple meuble contenant un écran. Elle constitue la fondation mécanique qui protège l’écran, l’ordinateur, le système d’alimentation, les câbles et les périphériques, tout en maintenant le terminal stable, sûr et maintenable dans un environnement public.
Pour un restaurant, un commerce de détail, un hôtel, un hôpital, un hub de transport ou un établissement gouvernemental, l’enceinte affecte directement la fiabilité. Une borne peut utiliser un logiciel performant et des périphériques de haute qualité, mais peut néanmoins générer des temps d’arrêt si sa structure limite la circulation de l’air, bloque l’accès à l’imprimante, achemine mal les câbles ou n’est pas fixée solidement au sol.
Ce guide explique comment une structure de borne au sol doit être planifiée, ce qu’il faut vérifier lors de l’installation et comment résoudre les problèmes structurels courants. Il est destiné aux exploitants, aux intégrateurs système, aux installateurs et aux équipes d’approvisionnement évaluant du matériel de libre-service commercial.
Pour une explication plus large de la manière dont les couches mécanique, électrique et transactionnelle fonctionnent ensemble, voir la vue d’ensemble de la structure matérielle des bornes AONKIOSK.
Qu’est-ce qu’une structure de borne au sol ?
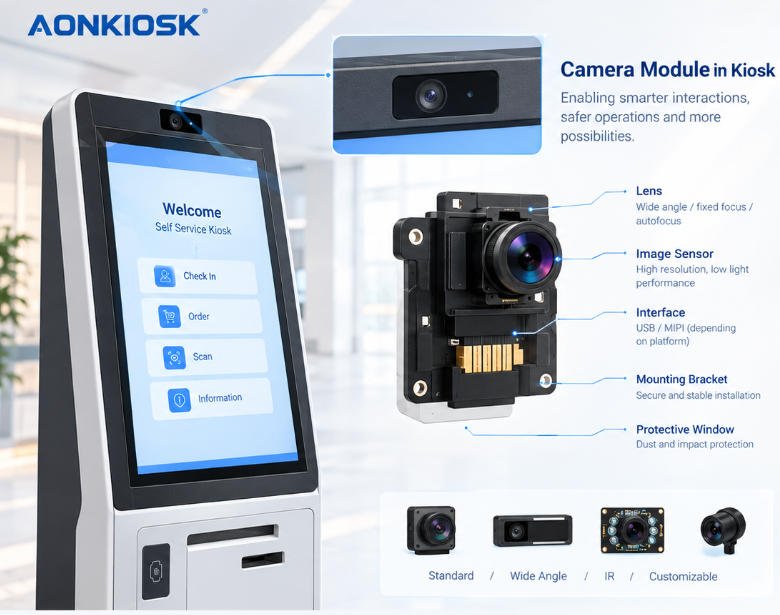
Une borne au sol est un terminal de libre-service autonome installé directement sur le sol. Elle combine généralement une enceinte en acier ou en aluminium, un écran et une couche tactile, un ordinateur interne, une distribution d’alimentation, des connexions réseau et des dispositifs spécifiques à l’application tels qu’une imprimante de reçus, un terminal de paiement, un lecteur de codes-barres, une caméra ou un lecteur d’identité.
La structure remplit cinq fonctions pratiques :
- Supporter le poids de l’équipement sans déformation.
- Protéger les composants contre les accès non autorisés, la poussière et les chocs accidentels.
- Maintenir la borne stable lors d’une utilisation normale et d’une interaction publique.
- Offrir une interface utilisateur claire et accessible.
- Permettre aux techniciens de remplacer efficacement les consommables et les pièces de maintenance.
La structure correcte dépend du cas d’utilisation final. Une borne de commande en libre-service pour restaurant peut nécessiter un accès facile à l’imprimante de reçus et une position confortable pour le terminal de paiement. Une borne de paiement pour le commerce de détail peut exiger un espace supplémentaire pour un scanner, un module de caisse ou un rouleau de papier plus grand. Une borne d’enregistrement hôtelier peut nécessiter des emplacements sécurisés pour un lecteur de passeport, une caméra, un encodeur de cartes-clés et une imprimante de documents.
Avant de sélectionner un meuble, définissez le flux de travail utilisateur et la liste des périphériques. L’enceinte doit être conçue autour des modules réels—et non d’une liste approximative de dispositifs.
Principales parties d’une enceinte de borne au sol
1. Base et points de fixation au sol
La base assure la stabilité principale de la borne. Elle doit supporter le meuble et les dispositifs internes tout en résistant aux poussées, aux tractions et aux interactions tactiles répétées.
Une borne au sol doit comporter :
- Une empreinte de base adaptée à la hauteur et au poids totaux.
- Des points de montage renforcés à l’intérieur de la base.
- Des dispositifs de mise à niveau lorsque le sol est irrégulier.
- Des ouvertures de passage de câbles qui ne pincent pas les câbles d’alimentation ou réseau.
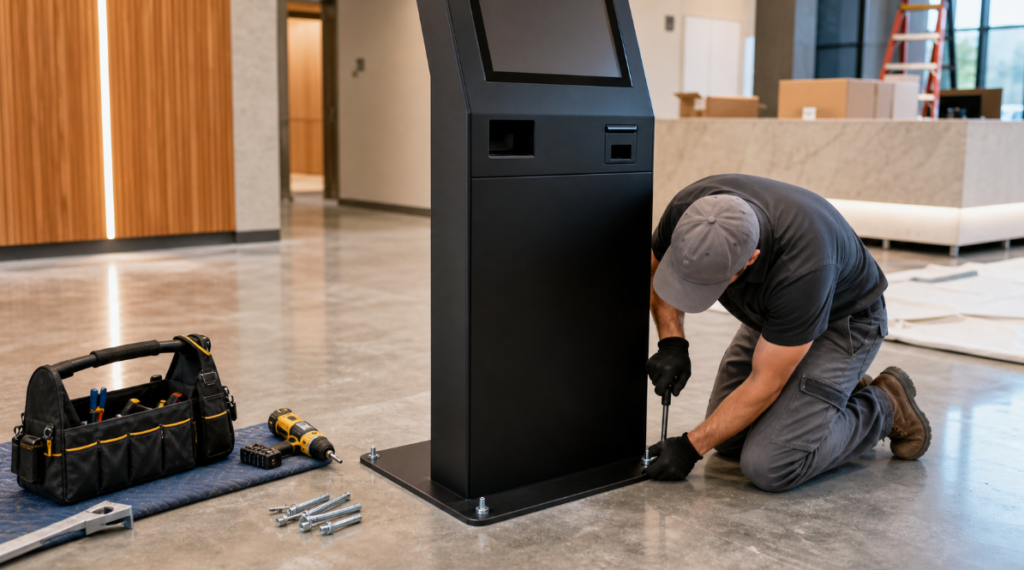
- Des trous d’ancrage pour une installation permanente lorsque requis.
Une borne stable en salle d’exposition peut ne pas l’être dans une zone publique très fréquentée. Les installateurs doivent évaluer le centre de gravité final après l’installation de l’écran, de l’imprimante, de l’ordinateur, du terminal de paiement et de tout module optionnel. Des dispositifs lourds montés en hauteur dans le meuble peuvent modifier considérablement la stabilité.
Pour les projets destinés au public, l’ancrage au sol est généralement l’approche privilégiée. L’installateur doit confirmer le matériau du sol, la profondeur de fixation disponible, les exigences locales en matière de construction et l’emplacement des services électriques ou de plomberie dissimulés avant de percer.
2. Cadre interne et panneaux extérieurs
Un fabricant fiable enceinte de borne au sol sépare normalement le cadre interne porteur des panneaux extérieurs.
Le cadre interne supporte le support d’écran, le PC industriel, l’alimentation électrique, l’imprimante, les ventilateurs et les supports périphériques. Il doit être suffisamment rigide pour que l’ouverture d’une porte de service, l’appui sur l’écran ou le déplacement d’un rouleau d’imprimante ne provoque pas de flexion excessive.
Les panneaux extérieurs assurent l’apparence, la protection des utilisateurs et un accès de maintenance contrôlé. L’acier laminé à froid revêtu par poudrage est couramment utilisé pour les bornes commerciales d’intérieur car il offre un équilibre pratique entre résistance, qualité de finition et flexibilité de fabrication. L’acier inoxydable peut être plus adapté aux environnements humides, de restauration ou corrosifs. L’aluminium peut réduire le poids mais peut nécessiter un renforcement structurel.
Ne choisissez pas le matériau uniquement pour son apparence. Évaluez l’épaisseur, le renforcement interne, le risque de corrosion, la rigidité des portes d’accès et l’environnement d’exploitation attendu.
3. Ensemble écran et toucher
L’écran est la partie de la borne avec laquelle les utilisateurs interagissent le plus souvent. Son système de montage doit maintenir le panneau uniformément et le protéger contre les pressions accidentelles.
Un ensemble écran approprié comprend :
- Un support de montage d’écran.
- Un panneau tactile et une vitre de protection avant.
- Des câbles de signal et d’alimentation de l’écran.
- Un chemin de service pour le remplacement.
- Un espace pour le mouvement des câbles sans pliure prononcée.
- Un dégagement de ventilation autour du panneau lorsque nécessaire.
L’emplacement de l’écran affecte l’ergonomie. La zone tactile, la fenêtre du scanner, la sortie de l’imprimante et le dispositif de paiement doivent être positionnés pour la population clientèle visée, y compris les utilisateurs en fauteuil roulant et les clients de différentes tailles. Si l’accessibilité est une exigence du projet, examinez l’application avec la catégorie des bornes accessibles et inclusives avant de finaliser la disposition du meuble.
La technologie tactile doit également être sélectionnée en fonction de l’environnement d’exploitation. Une comparaison des écrans tactiles capacitifs et infrarouges peut aider lors de la planification d’écrans grand format, de verre de protection ou d’exigences tactiles particulières.
4. Zones de montage des périphériques
Les périphériques génèrent les problèmes structurels les plus courants, car chaque dispositif possède ses propres exigences en matière de dégagement, de câblage, de ventilation et de maintenance.
Les périphériques typiques d’un kiosque au sol comprennent :
- Lecteur de code-barres ou de code QR.
- Imprimante de reçus ou de tickets.
- Terminal de paiement et lecteur NFC.
- Caméra, microphone et haut-parleur.
- Lecteur de pièce d’identité, de passeport ou de carte.
- Accepteur ou recycleur de billets.
- Encodeur de cartes à bande magnétique.
- Scanner de documents ou imprimante d’étiquettes.
L’ouverture avant de chaque module doit respecter les exigences d’installation du fabricant. Un lecteur de code-barres ne doit pas être encastré trop profondément au point que le bord du meuble bloque l’angle de lecture. Une sortie d’imprimante doit permettre au papier de sortir directement ; une fente étroite ou mal alignée peut provoquer des bourrages papier récurrents. Un terminal de paiement doit garder sa fente pour carte, sa zone sans contact et son clavier dégagés.
Pour les déploiements axés sur le paiement, consultez la documentation AONKIOSK les bornes de vente au détail et de paiement afin d’aligner la structure du meuble sur le flux de paiement et de numérisation requis.
Agencement interne : à quoi ressemble une bonne conception de meuble de kiosque
Une conception de meuble de kiosque bien pensée privilégie l’accès et l’ordre, et non pas simplement l’enceinte la plus petite possible.
À l’intérieur du meuble, disposez les composants en fonction de leur fréquence de maintenance et de leur production de chaleur :
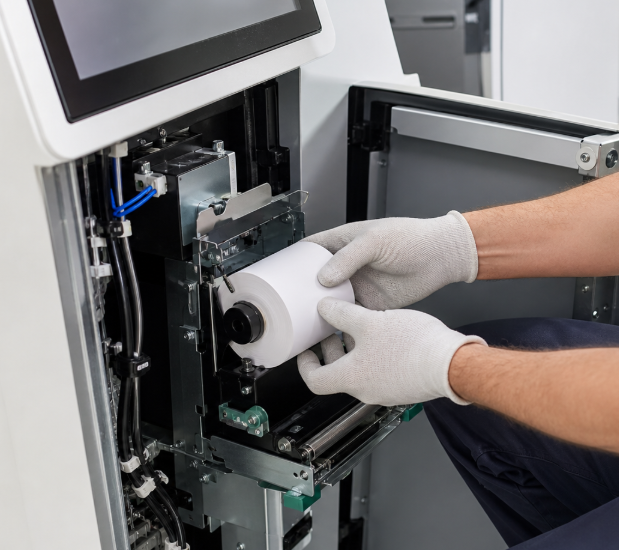
- Placez les rouleaux de papier et les points de service de l’imprimante derrière une porte accessible.
- Gardez le PC industriel accessible sans avoir à retirer du matériel non lié.
- Montez les alimentations électriques et le câblage haute tension dans des zones protégées.
- Séparez les câbles de communication du câblage secteur CA dans la mesure du possible.
- Utilisez des câbles étiquetés et des dispositifs de décharge de traction.
- Évitez de placer les dispositifs générant de la chaleur directement sous les composants électroniques sensibles.
- Laissez suffisamment d’espace pour déconnecter et retirer un module en toute sécurité.
Le système de porte est aussi important que l’agencement interne. Une porte de service doit s’ouvrir suffisamment pour la maintenance, rester soutenue en position ouverte et utiliser des serrures adaptées à l’environnement d’installation. Les charnières et les serrures doivent être sélectionnées en fonction du poids de la porte, de la fréquence d’ouverture et du niveau de sécurité.
Les techniciens ne doivent pas avoir à retirer l’écran, démonter les habillages extérieurs ou déconnecter plusieurs dispositifs simplement pour changer le papier de l’imprimante. Une maintenance facile réduit la durée de chaque intervention et diminue le risque de dommages accidentels.
Alimentation électrique, réseau et gestion thermique
Alimentation et mise à la terre
Le meuble doit fournir un chemin contrôlé depuis l’entrée secteur du bâtiment jusqu’au système de distribution électrique interne. Cela peut inclure une prise d’entrée, un interrupteur principal, un fusible ou une protection de circuit, une alimentation CA/CC, un point de mise à la terre et des connexions CC pour chaque dispositif.
Les vérifications importantes lors de l’installation comprennent :
- Confirmer que la tension d’alimentation locale correspond aux spécifications du kiosque.
- Vérifier la connexion de terre de protection avant la mise sous tension.
- S’assurer que toutes les fiches et les borniers sont complètement enfoncés.
- Vérifier que les câbles ne sont pas coincés par la porte ou les bords des panneaux.
- Confirmer que la capacité électrique totale inclut les charges de pointe des imprimantes, des modules de billets et d’autres dispositifs électromécaniques.
Ne pas contourner les fusibles, les conducteurs de terre ou les composants de sécurité lors du dépannage. Toute mesure à l’intérieur d’un meuble sous tension doit être effectuée uniquement par du personnel qualifié utilisant un équipement adapté.
Ventilation et chaleur
Les structures de kiosques au sol doivent gérer la chaleur provenant de l’ordinateur, de l’écran, des alimentations, de l’imprimante et des modules cellulaires optionnels. Une circulation d’air restreinte peut entraîner des blocages d’applications, des redémarrages aléatoires, une instabilité de l’affichage et une usure prématurée des composants.
Un chemin de circulation d’air pratique fait entrer l’air plus frais par les ouvertures inférieures et évacue l’air chaud par les ouvertures supérieures. Les filtres, les ventilateurs et les trous de ventilation doivent rester accessibles pour inspection. Les câbles internes, le papier en vrac, les matériaux d’emballage et les supports inutilisés ne doivent pas bloquer le chemin de circulation d’air.
Si le kiosque fonctionne normalement avec la porte de service ouverte mais devient instable lorsque la porte est fermée, vérifiez la température interne, les évents obstrués, les ventilateurs défaillants ou une disposition inadaptée de l’équipement.
Pour les déploiements en extérieur, semi-extérieur ou à forte humidité, les exigences d’étanchéité et de refroidissement de l’enceinte sont différentes. Référez-vous à la documentation AONKIOSK Page qualité et certifications lors de l’évaluation d’options telles que la protection IP, la résistance aux chocs et l’adéquation environnementale.
Liste de contrôle pour l’installation d’un kiosque au sol
Effectuez les vérifications suivantes avant de remettre le kiosque en service public.
Préparation du site
- Confirmez l’emplacement final du kiosque, le chemin d’approche des clients et l’espace de maintenance.
- Vérifiez que le sol peut supporter le kiosque et tout ancrage requis.
- Confirmez l’accès aux connexions électriques et réseau.
- Vérifiez que les ouvertures de ventilation ne feront pas face à un mur, un meuble ou une source de chaleur.
- Évitez les emplacements exposés à l’eau directe, aux sprays de nettoyage ou à un ensoleillement excessif, sauf si le kiosque est conçu pour cet environnement.
Installation mécanique
- Placez le kiosque dans sa position finale et vérifiez qu’il est de niveau.
- Installer les ancrages approuvés là où cela est requis.
- Confirmer que la base ne bascule pas et ne se soulève pas sous une pression de toucher normale.
- Vérifier la trajectoire d'ouverture de la porte et s'assurer qu'elle n'interfère pas avec les murs ou le mobilier.
- Inspecter tous les jeux des panneaux externes et les fixations après l'installation.
Mise en service fonctionnelle
- Confirmer l'image affichée, la réponse tactile et la luminosité.
- Tester la connectivité réseau et le lancement des applications.
- Tester chaque périphérique installé individuellement.
- Imprimer un reçu ou un ticket de test.
- Confirmer l'angle de lecture du scanner à l'aide du code-barres ou du code QR réellement attendu.
- Tester l'équipement de paiement conformément à la procédure du fournisseur de services de paiement.
- Confirmer le fonctionnement du ventilateur et vérifier l'absence de vibrations ou de bruits anormaux.
- Enregistrer le modèle, le numéro de série, les paramètres réseau et la liste des modules installés.
Le Centre d'assistance AONKIOSK peut être utilisé lorsque de la documentation, un diagnostic à distance ou un support d'intégration est nécessaire.
Problèmes courants des bornes au sol et contrôles en libre-service
La borne semble instable
Vérifier d'abord si la base est de niveau et si tous les boulons d'ancrage sont installés et serrés selon les spécifications approuvées. Inspecter le sol pour détecter toute irrégularité et vérifier que l'armoire n'a pas été déplacée de sa position d'ancrage d'origine.
Ne pas ajouter de poids improvisés à l'intérieur de l'armoire. Un poids supplémentaire peut affecter le refroidissement, le cheminement des câbles et l'accès de maintenance. Si la borne reste instable après les vérifications de base, cesser son utilisation publique et contacter un installateur qualifié ou le support AONKIOSK.
La porte de service ne se ferme pas correctement
Vérifier la présence de câbles coincés, d'un rouleau d'imprimante déplacé, de matériaux d'emballage non retirés ou d'un module ayant bougé de son support. Ne pas forcer la fermeture de la porte. Forcer peut endommager les charnières, les serrures, les câbles ou les connecteurs.
Si l'alignement de la porte a changé après le transport ou l'installation, inspecter l'alignement des ancrages et la mise à niveau de l'armoire avant d'ajuster le mécanisme de verrouillage.
Bourrages répétés de l'imprimante de reçus
Ouvrir la porte de service, éteindre la borne si le manuel de l'imprimante l'exige, et vérifier le cheminement du papier. Confirmer que le rouleau a la bonne largeur et la bonne orientation, que la sortie papier est dégagée et que l'ouverture de l'armoire ne frotte pas contre le papier.
Des bourrages fréquents peuvent indiquer un problème d'alignement structurel plutôt qu'une défaillance de l'imprimante. L'imprimante doit avoir un cheminement papier rectiligne et un dégagement suffisant pour le rouleau et le dispositif de coupe.
Le tactile fonctionne mais l'écran scintille ou s'assombrit
Vérifier d'abord l'alimentation externe, puis inspecter les connexions internes d'alimentation et de signal de l'écran uniquement après avoir débranché la borne du secteur. Des câbles desserrés, un mauvais soulagement de traction ou une accumulation de chaleur sont des causes courantes.
Si la saisie tactile est imprécise, vérifier la résolution du système d'exploitation et l'étalonnage tactile avant de modifier le matériel. Ne pas appuyer fort sur la vitre avant ni tenter d'ajuster les supports d'écran pendant que le système est en fonctionnement.
La borne redémarre lors de l'impression ou de l'utilisation de plusieurs périphériques
Cela peut être causé par une branche d'alimentation surchargée ou instable. Vérifier si le problème survient pendant l'impression, la lecture de cartes ou d'autres événements de pointe. Enregistrer le moment et les périphériques connectés avant de demander une assistance ; cela accélère le diagnostic.
Calendrier de maintenance
Un plan de maintenance préventive simple est généralement plus efficace que d'attendre qu'une panne survienne.
Hebdomadairement ou selon les besoins :
- Essuyer l'écran et l'extérieur avec des matériaux de nettoyage non abrasifs appropriés.
- Vérifier le niveau de papier de l'imprimante.
- Inspecter la base et les ouvertures avant pour détecter tout dommage ou obstruction.
- Confirmer qu'aucun module orienté client n'est desserré.
Mensuellement :
- Inspecter et nettoyer les filtres à air et les évents accessibles.
- Vérifier les serrures de porte, les charnières et les points d'ancrage.
- Tester le montage du scanner, de l'imprimante, de l'écran tactile et du dispositif de paiement.
- Rechercher l'usure des câbles près des portes mobiles ou des points de service.
Trimestriellement ou selon les conditions du site :
- Examiner la température du système et les performances des ventilateurs.
- Vérifier les étiquettes des câbles internes et le soulagement de traction.
- Inspecter la présence de corrosion, d'infiltration d'eau ou d'accumulation de poussière.
- Mettre à jour le registre de maintenance du site.
AONKIOSK fournit une page d'assistance pour l'expédition et la garantie avec des informations sur la protection matérielle, la couverture de garantie, les pièces de rechange et l'assistance technique à distance.
Quand contacter le support technique
Contactez le support lorsque vous constatez une odeur de brûlé électrique, des déclenchements répétés des protections de circuit, une infiltration d'eau visible, des connexions de mise à la terre endommagées, une alimentation interne desserrée, des fissures structurelles, une surchauffe persistante ou un problème de sécurité lié au dispositif de paiement.
Lorsque vous contactez AONKIOSK, fournissez le modèle du kiosque, le numéro de série, l'emplacement d'installation, des photos ou vidéos de la panne, une description de ce qui s'est passé avant l'apparition du problème, ainsi que le résultat de toute vérification de sécurité déjà effectuée. Cela permet à l'équipe de support de disposer des informations nécessaires pour déterminer si le problème est d'ordre mécanique, électrique, lié aux périphériques ou logiciel.
Résumé
La structure d'un kiosque au sol doit être évaluée comme une plateforme de service complète. Le meilleur boîtier est stable, accessible, thermiquement géré, correctement mis à la terre et conçu autour des modules matériels réels dont dépendent les utilisateurs et les techniciens.
Avant le déploiement, vérifiez le site, la fixation de la base, l'accès aux composants, la capacité électrique, le cheminement des câbles, la circulation de l'air et le fonctionnement des périphériques. Après le déploiement, utilisez une maintenance régulière et des registres de service clairs pour protéger la disponibilité.
Pour des dimensions personnalisées, un placement spécifique des périphériques, des panneaux de marque ou des exigences environnementales particulières, AONKIOSK peut prendre en charge une structure spécifique au projet grâce à son Service de fabrication de kiosques OEM et ODM.