





Airport self-service projects are unusually demanding because the kiosk sits at the intersection of passenger experience, airline software, identity documents, baggage and boarding workflows, airport IT infrastructure, accessibility requirements, and continuous public use.
For a procurement team, choosing airport check in kiosk hardware therefore involves much more than selecting a touchscreen and putting an industrial PC inside a metal enclosure.
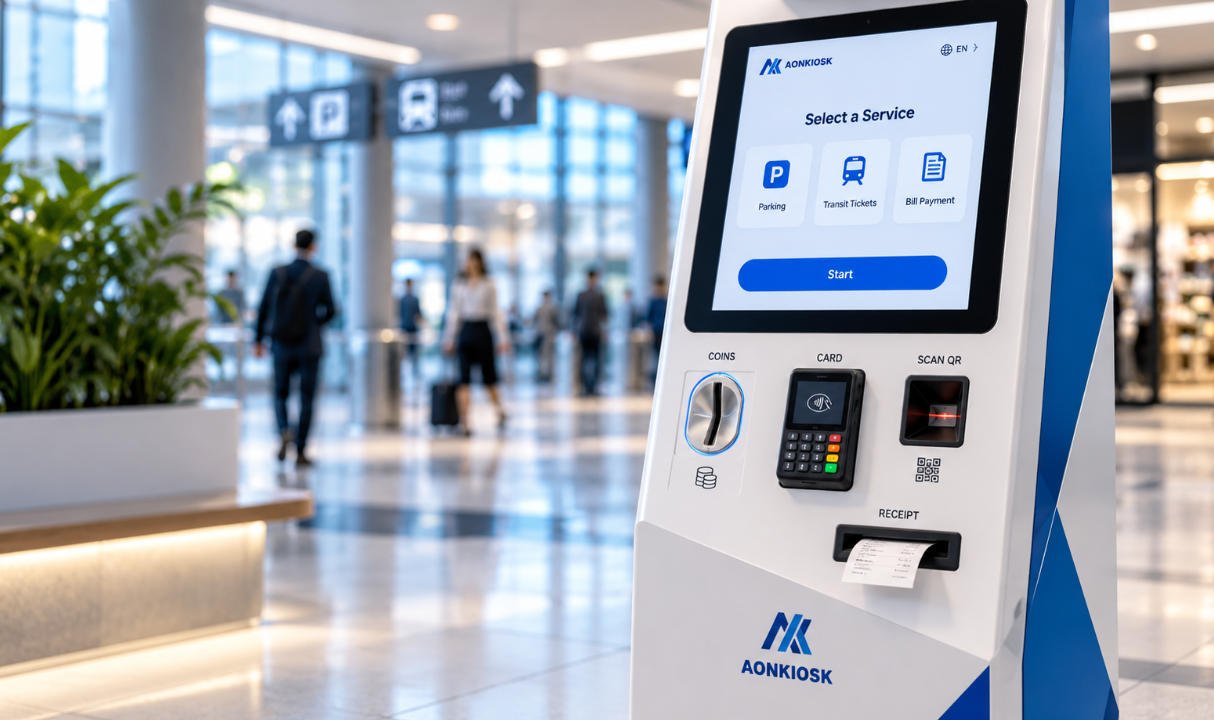
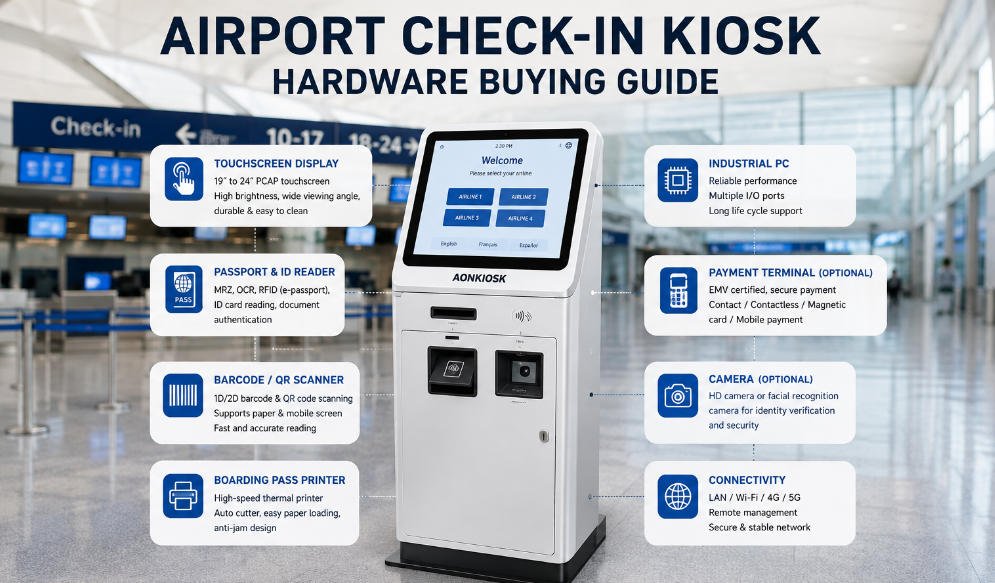
A kiosk may look straightforward from the outside, but its internal configuration has to support passport or ID reading, reservation retrieval, boarding-pass printing, barcode scanning, airline applications, network communication, optional payment devices, cameras, and remote management. At the same time, technicians need to service these components quickly without removing the terminal from operation for extended periods.
This buying guide focuses on the hardware decisions that airlines, airport operators, aviation technology companies, system integrators, and self-service solution providers should define before requesting a quotation.
Start With the Passenger Workflow, Not the Kiosk Appearance
Before comparing kiosk models, document what passengers will actually do at the terminal.
One airport project may require only reservation lookup and boarding-pass printing. Another may combine passport verification, seat selection, ancillary purchases, baggage-tag printing, and airline loyalty services.
A typical passenger self service kiosk workflow could include:
- Passenger selects an airline or language.
- Passenger scans a passport, ID, booking QR code, or boarding pass.
- The application retrieves the booking.
- Passenger confirms flight and traveler details.
- Optional seat selection or ancillary services are displayed.
- Payment is completed when required.
- The kiosk prints a boarding pass and potentially a baggage tag.
- The transaction is confirmed with the airline departure control or related backend system.
Each additional step introduces another hardware dependency.
That is why an RFQ stating only “21.5-inch airport kiosk with printer and scanner” is usually insufficient.
A more useful specification describes the complete workflow, expected software platform, document types, required peripherals, communication interfaces, estimated passenger volume, installation environment, maintenance method, and deployment quantity.
For projects still defining the wider procurement process, AONKIOSK’s self-service kiosk buying guide covers the progression from requirements and prototype validation to pilot deployment and mass production.
1. Select the Touchscreen Around Passenger Interaction
Screen size should be based on the interface and installation geometry rather than simply choosing the largest display available.
For many airline kiosk applications, displays in approximately the 19- to 24-inch range provide enough space for multilingual instructions, reservation information, seat-selection interfaces, accessibility controls, and transaction prompts without creating an unnecessarily large enclosure.
Important display specifications include:
- Projected capacitive touchscreen technology
- Commercial-grade LCD panel
- Appropriate brightness for the installation location
- Wide viewing angles
- Durable front glass
- Reliable touch performance under continuous public use
- Suitable operating temperature
- Long-term panel availability
Airport terminals are generally controlled indoor environments, but screen visibility still varies considerably.
A kiosk positioned near a glazed terminal entrance may receive much stronger ambient light than one installed deep inside a check-in hall. Brightness should therefore be specified using actual installation conditions instead of assuming every indoor airport kiosk can use the same panel.
Touchscreen mounting also matters. A flush-front installation reduces exposed edges and normally provides a cleaner surface for frequent cleaning.
2. Choose the Computing Platform According to Airline Software
The computer is the operational core of the airline kiosk, but processor specifications should not be evaluated independently from the software environment.
Start with questions such as:
- Does the application require Windows, Linux, or another operating environment?
- Is browser-based software being used?
- Will biometric processing occur locally?
- How many USB and serial peripherals are required?
- Does the airport require dual network interfaces?
- Are TPM or other security capabilities needed?
- Will the system run remote monitoring or device-management software?
- What is the expected hardware lifecycle?
A lightweight check-in application may not require a high-end processor. However, projects involving multiple peripherals, local biometric processing, video, complex interfaces, or several background services may need greater computing capacity.
Industrial or commercial embedded PCs are generally preferable to consumer mini PCs for long-term kiosk deployments because availability, I/O configuration, thermal management, mounting, and replacement planning are usually more important than benchmark performance alone.
Also verify physical interfaces before prototype production.
Passport scanners, printers, barcode readers, payment terminals, cameras, NFC modules, and service devices may collectively consume a surprising number of USB, serial, Ethernet, and powered interfaces.
Adding hubs after production is rarely as clean as engineering the correct I/O architecture from the beginning.
3. Treat Passport and ID Scanning as a Core Integration
International travel makes document reading one of the most important hardware decisions.
Depending on the airport and airline workflow, the kiosk may need to process passports, national ID cards, visas, or other travel documents.
Do not specify simply “passport scanner.”
Confirm exactly which functions are required, such as:
- Machine-readable zone reading
- Document imaging
- OCR
- RFID or e-passport chip reading
- Visible, infrared, or ultraviolet imaging
- ID card reading
- Software development kit compatibility
- Document authentication capabilities
The mechanical installation of the scanner also affects passenger usability.
Travelers need a clearly identifiable scanning area and enough physical space to position passports correctly. A technically capable scanner mounted at an awkward angle can still produce a poor passenger experience and additional assistance requests.
The scanner model should therefore be validated with both the software and the kiosk enclosure before mass production.
4. Specify Boarding-Pass and Baggage-Tag Printing Separately
Printing requirements are often underestimated during early kiosk design.
A boarding-pass printer and a baggage-tag printer perform different jobs and can impose substantially different requirements for media handling, internal space, loading access, cutter mechanisms, sensors, and service procedures.
For boarding passes, evaluate:
- Required media format
- Print width and resolution
- Printing speed
- Cutter requirements
- Paper capacity
- Media loading method
- Sensor configuration
- Driver compatibility
- Jam-clearing access
If the terminal must also print baggage tags, the enclosure may need considerably more internal volume and a different paper path.
High passenger volume makes media replacement especially important. A printer hidden behind several electronic assemblies may make the kiosk look compact, but it can dramatically increase service time.
The engineering objective should be fast paper loading and jam removal without requiring technicians to dismantle unrelated hardware.
5. Check Barcode and QR Reading Performance
Passengers increasingly interact with check-in equipment using mobile boarding passes, booking QR codes, airline applications, and printed travel documents.
A commercial barcode scanner should therefore handle both paper and smartphone screens reliably.
Procurement teams should test:
- 1D barcode formats
- 2D and QR codes
- Codes shown on mobile displays
- Low-brightness phone screens
- Damaged or partially printed codes
- Different scanning angles
- Typical passenger hand positions
Scanner placement matters almost as much as the scanner specification.
If passengers cannot easily understand where to present the code, transaction time increases. Integrated illumination and a clearly defined scanning window can help make the interaction more intuitive.
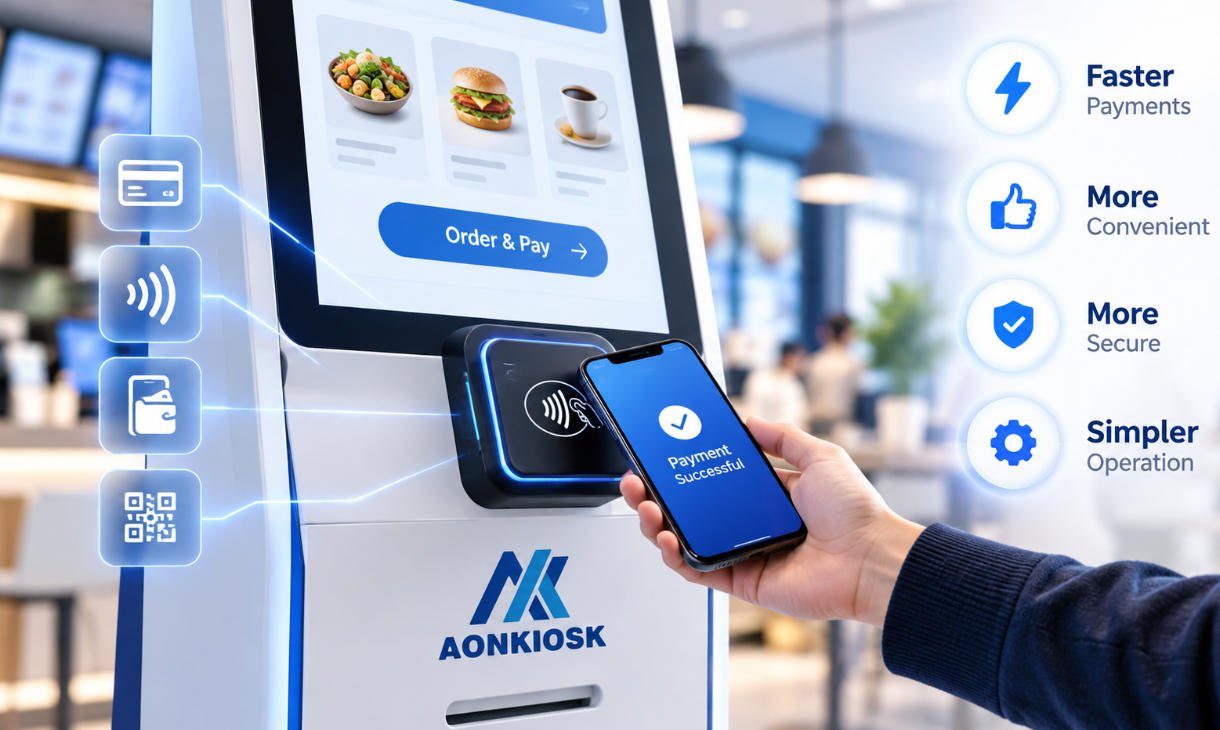
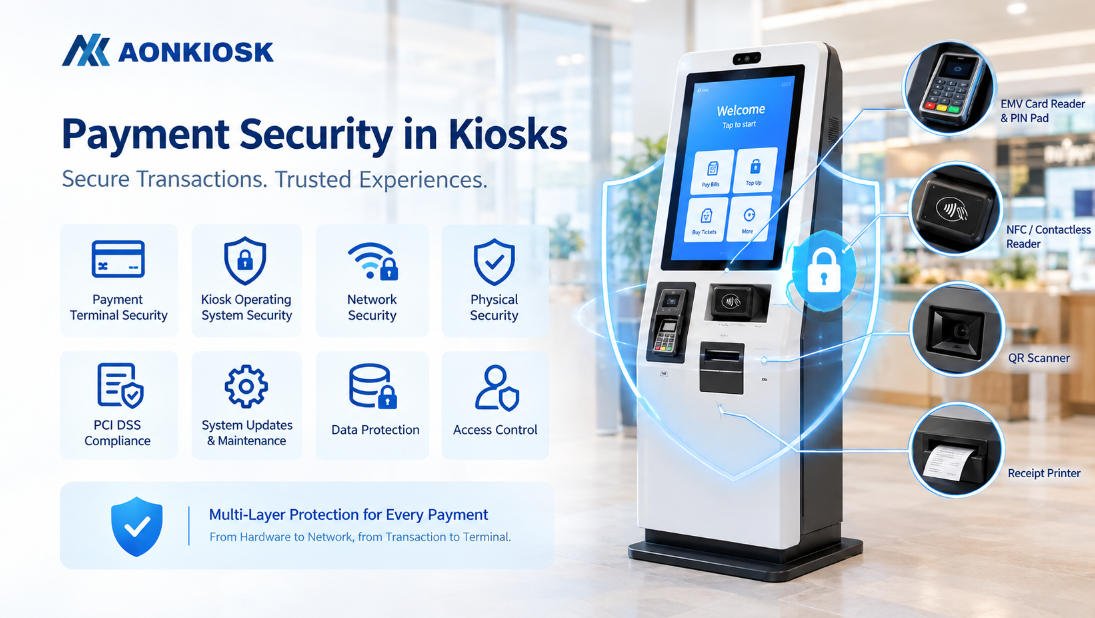
6. Decide Whether Payment Hardware Is Actually Required
Not every airport kiosk needs payment capability.
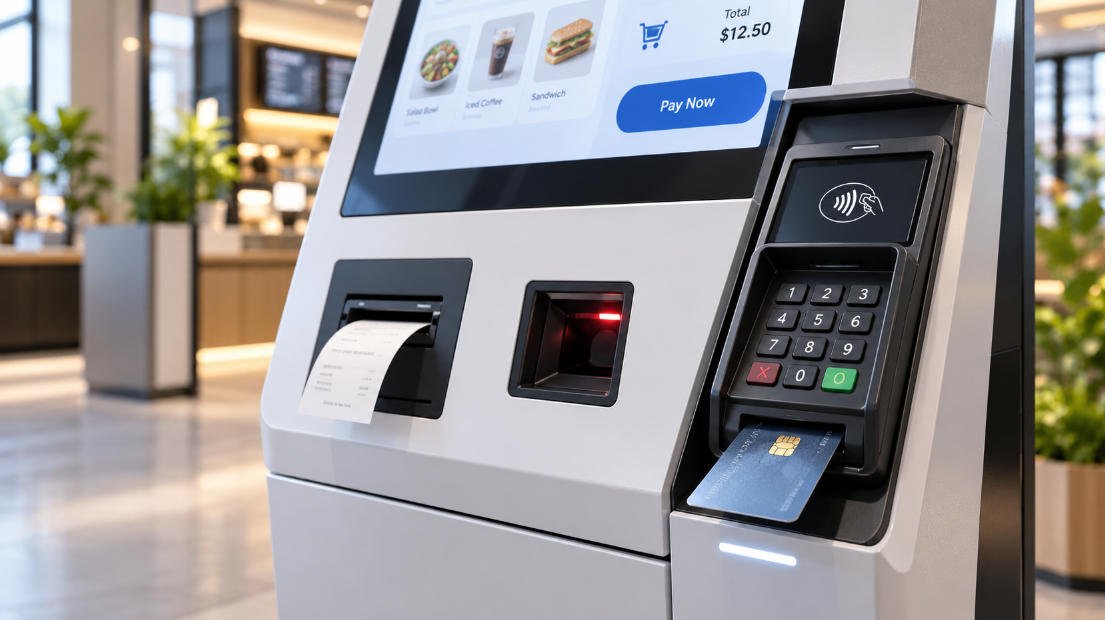
However, an airport check in kiosk hardware configuration supporting excess baggage payments, seat upgrades, priority services, lounge access, or other ancillary purchases may require a payment terminal.
The kiosk manufacturer usually needs the exact payment-device model early because terminal dimensions, mounting points, cable routing, user angle, service access, and certification constraints differ between payment providers.
Avoid designing a generic rectangular opening and assuming every card reader will fit later.
Ideally, the production design should use a dedicated bracket or interchangeable mounting plate so payment hardware can be updated without redesigning the complete enclosure.
This is especially useful in international deployments where different acquiring banks or regions may require different terminal models.
7. Plan Camera and Biometric Hardware Before Finalizing the Enclosure
Airport self-service increasingly intersects with identity verification and biometric passenger processing.
A kiosk may need a standard camera, facial-recognition camera, depth camera, document camera, or other biometric hardware depending on the project.
Camera integration affects:
- Installation height
- Viewing angle
- Lighting
- Display position
- Passenger distance
- Enclosure openings
- Internal cable routing
Do not add the camera after completing the industrial design.
Even a small change in camera position can significantly affect facial capture when passengers of different heights use the kiosk.
Projects involving biometric technology should validate representative user heights during the prototype stage rather than relying exclusively on CAD drawings.
8. Engineer the Enclosure for High-Traffic Public Use
Airport kiosks may operate for long hours and interact with hundreds or thousands of passengers.
The enclosure therefore needs appropriate structural rigidity, secure access, durable finishes, stable installation, and protection for internal electronics.
For most indoor airport deployments, properly engineered powder-coated steel can provide a practical balance between rigidity, manufacturability, appearance, and cost.
However, enclosure performance depends on more than metal thickness.
Review:
- Internal reinforcement
- Base structure
- Anti-tip stability
- Floor anchoring
- Service-door construction
- Locking system
- Display mounting
- Printer reinforcement
- Cable routing
- Ventilation
- Edge treatment
- Surface coating durability
A kiosk with many heavy modules can develop an unfavorable center of gravity if the internal architecture is poorly planned.
Floor-standing terminals should therefore be evaluated as complete mechanical assemblies rather than cabinets containing independent components.
9. Make Maintenance Access Part of the Original Design
One of the most important differences between prototype hardware and deployment-ready hardware is serviceability.
Airport operations cannot afford unnecessary downtime because replacing paper, clearing a printer jam, changing an SSD, or replacing a scanner requires extensive disassembly.
Ask the supplier to show how technicians access:
- Industrial PC
- SSD and memory
- Power supply
- Printer
- Passport reader
- Barcode scanner
- Payment terminal
- Network equipment
- Cooling components
- Power distribution
- Internal wiring
Frequently serviced modules should be accessible without removing unrelated equipment.
Where possible, modular mounting plates can make component replacement faster and reduce the risk of damaging surrounding wiring.
Cable labeling also becomes increasingly important once dozens or hundreds of kiosks are deployed.
10. Consider Accessibility During Mechanical Design
Accessibility should not be treated as a software-only requirement.
Screen height, touchscreen angle, payment-device position, scanner location, printer output, reach distance, knee clearance, headphone connections, physical controls, and user approach area can all affect whether the terminal can be used comfortably by passengers with different physical abilities.
Applicable requirements depend on the destination country, airport, and project specification.
Therefore, procurement teams should communicate accessibility standards before the manufacturer freezes the enclosure dimensions.
Trying to correct accessible reach ranges after tooling, sheet-metal drawings, and peripheral positions are finalized can require substantial redesign.
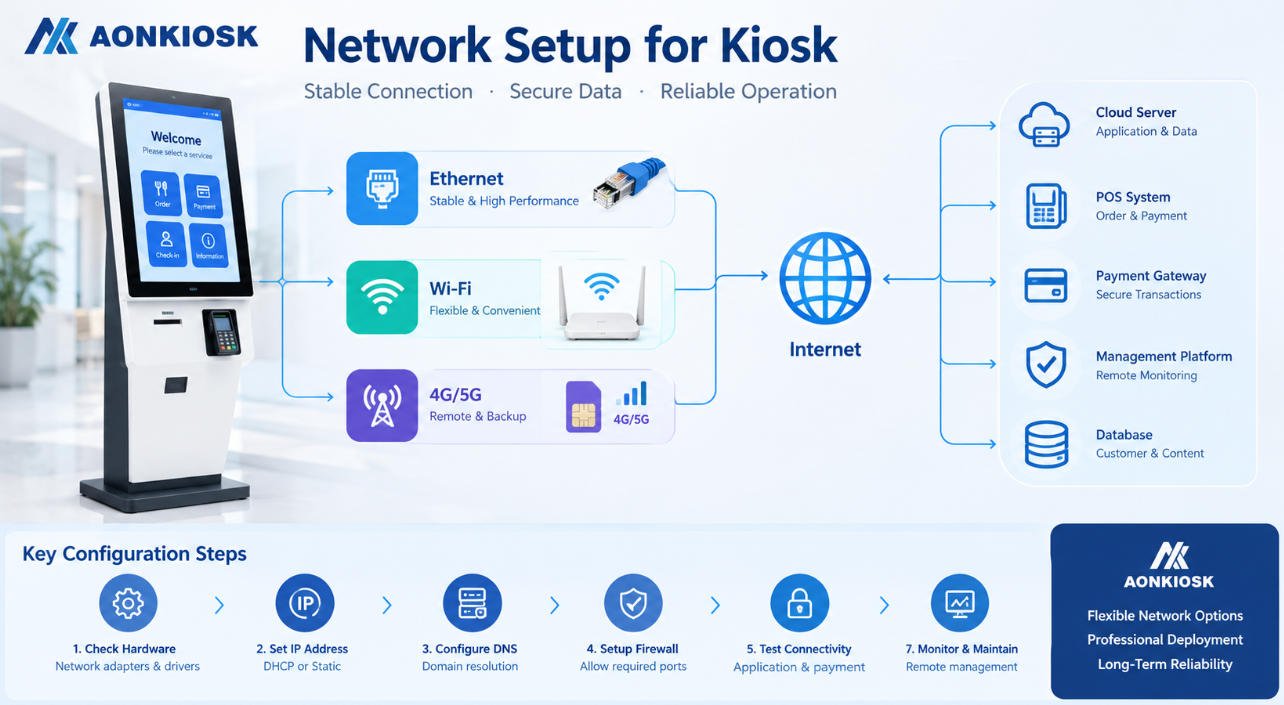
11. Verify Network and Power Architecture
Airport kiosks are connected infrastructure.
Depending on project requirements, connectivity may include:
- Gigabit Ethernet
- Wi-Fi
- 4G/5G backup
- Multiple LAN ports
- VPN or security appliances
- Remote device management
Ethernet is often preferred as the primary connection for fixed installations where airport infrastructure allows it, while wireless connectivity may provide deployment flexibility or redundancy.
The power architecture should also be documented.
Verify input voltage, power distribution, surge protection requirements, grounding, power switches, internal adapters, cable ratings, and optional UPS integration.
Do not allow multiple consumer power adapters to accumulate randomly inside the cabinet. Organized power distribution improves both safety and maintenance.
12. Prototype the Complete Hardware Stack
A visually finished kiosk prototype is not automatically a validated kiosk.
For an airport project, the prototype should contain the actual or mechanically representative components planned for deployment.
Testing should cover the entire passenger workflow.
Run passports through the document reader. Scan real boarding passes and mobile QR codes. Print repeated boarding passes. Replace paper. Test network interruptions. Reboot the system. Remove and reconnect peripherals. Evaluate temperatures during continuous operation.
Also test the maintenance workflow.
A kiosk may pass functional testing while still being frustrating to service.
For customized aviation projects, working with an OEM partner capable of enclosure engineering, touchscreen integration, computing configuration, scanners, printers, cameras, payment-device mounting, assembly, and production testing can reduce the number of interfaces that procurement teams must coordinate. AONKIOSK describes this approach through its OEM & ODM self-service kiosk manufacturing services.
13. Ask About Component Lifecycle Before Mass Deployment
Airport kiosks are infrastructure investments, not short-lived consumer electronics.
Component availability therefore deserves attention before volume production.
Ask:
- How long is the LCD expected to remain available?
- Can the industrial PC be supplied for future batches?
- What happens if the motherboard reaches end-of-life?
- Are equivalent printers validated?
- Can the scanner mounting bracket support a replacement model?
- Which spare parts should be purchased with the first shipment?
- Can identical configurations be reproduced one or two years later?
A modular kiosk architecture makes future substitution easier.
For example, mounting the PC, printer, payment terminal, and document reader on replaceable brackets is generally preferable to building the sheet-metal enclosure around one irreplaceable component.
14. Build a Real Airport Kiosk RFQ
A professional RFQ for a passenger self service kiosk should include more than a product photograph and desired quantity.
At minimum, provide:
- Deployment country and airport environment
- Indoor, semi-outdoor, or outdoor installation
- Passenger workflow
- Screen size
- Operating system
- Processor and memory expectations
- Passport/ID scanner model or requirements
- Barcode/QR scanner requirements
- Boarding-pass printer specification
- Baggage-tag printer requirements
- Payment-terminal model
- Camera or biometric modules
- NFC/RFID requirements
- Network connections
- Accessibility requirements
- Installation method
- Branding and surface finish
- Software/interface requirements
- Expected daily usage
- Prototype quantity
- Estimated production quantity
- Required certifications
- Spare-parts expectations
The more complete this document is, the easier it becomes to compare quotations from different manufacturers fairly.
Choosing the Right Airport Check-In Kiosk Hardware
There is no universal configuration that qualifies as the best airport check in kiosk hardware.
A kiosk supporting simple boarding-pass reprinting does not need the same internal architecture as a terminal combining passport authentication, biometric identification, baggage-tag printing, ancillary payment, and multi-airline services.
The right configuration comes from understanding the complete passenger transaction first and engineering the hardware around it.
For procurement teams, five factors deserve particular attention: peripheral compatibility, serviceability, long-term component availability, software integration, and prototype validation.
Appearance still matters in a modern airport environment, but reliability is ultimately determined behind the front panel—in the mounting system, cable layout, cooling design, printer access, computing platform, document reader integration, and replacement strategy.
AONKIOSK manufactures configurable self-service hardware for hospitality, transportation, check-in, ticketing, retail, and other unattended applications, including systems that can integrate passport or ID scanners, payment devices, printers, cameras, and related peripherals. Buyers evaluating related passenger-processing workflows can also review its hotel and self-service check-in solutions as a reference for multi-peripheral check-in hardware architecture.
The most effective airport kiosk procurement process is therefore not:
Choose a kiosk → add the required devices.
It is:
Define the passenger journey → define the devices → validate the software and interfaces → engineer the enclosure → test the complete system → standardize the production configuration.
That sequence produces hardware that is easier to deploy, easier to maintain, and far more likely to remain reliable throughout its operational life.