





A barcode scanner looks like a relatively small component in a self-service kiosk. In practice, it can have an outsized effect on how smoothly the entire machine works.
A customer standing at a retail kiosk may need to scan several products in quick succession. A cinema visitor may hold a QR ticket on a phone. A government-service user may present a printed appointment code. In each case, the scanner has to recognize the code quickly, from a practical position, under the lighting conditions of the actual deployment.
This is why selecting a kiosk barcode scanner should not begin with a comparison of scan engines alone. The better starting point is the workflow: what will be scanned, how users will present it, where the kiosk will operate, and how the scanner will physically fit into the enclosure.
For kiosk buyers, software companies and system integrators, the following factors are worth defining before the enclosure design is finalized.
1. Start With the Codes Your Kiosk Actually Needs to Read
The first question is straightforward: what will users scan?
Different kiosk applications deal with very different code sources.
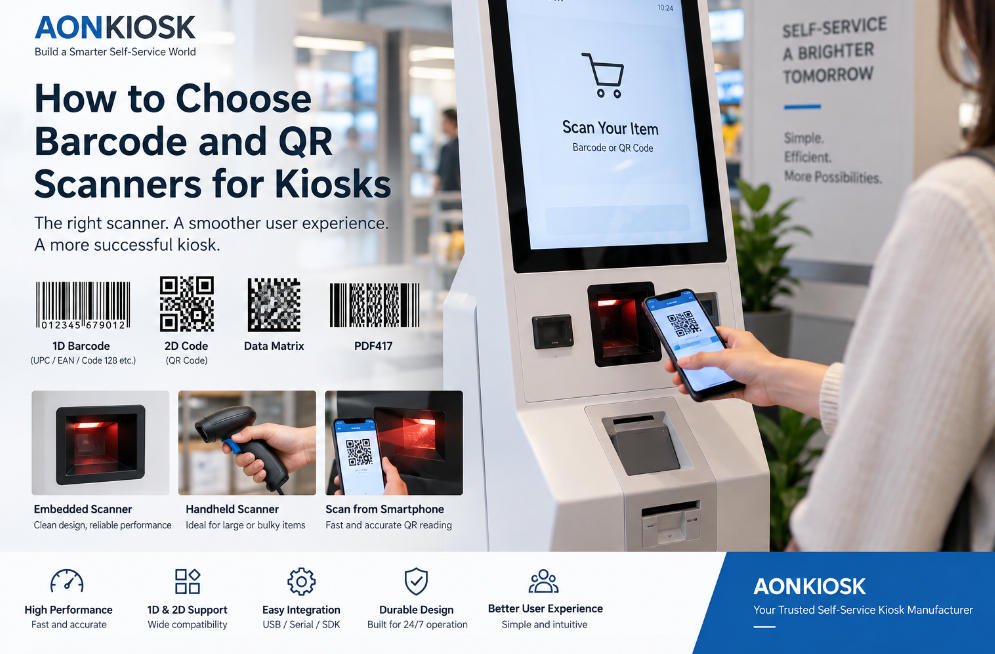
A retail self-checkout terminal may scan EAN or UPC product labels hundreds of times per day. A ticketing machine may mostly read QR codes displayed on smartphones. A restaurant kiosk may use QR codes for membership identification, coupons or order retrieval. Government and service terminals may need to read appointment references, application numbers or codes printed on documents.
Make a list of the expected symbologies before selecting hardware.
Typical 1D codes include:
- UPC-A and UPC-E
- EAN-8 and EAN-13
- Code 39
- Code 128
- Interleaved 2 of 5
Common 2D codes include:
- QR Code
- Data Matrix
- PDF417
- Aztec
Do not assume that every scanner advertised as “2D” supports every code format required by your application. Obtain the scanner’s supported symbology list and test it with the codes generated by your actual software or third-party platform.
This is particularly important when the kiosk connects to an existing ticketing, loyalty, logistics or retail system.
2. Decide Whether You Need a 1D or 2D Scanner
For a new kiosk project, a 1D 2D scanner is usually more flexible than a 1D-only reader.
Traditional 1D scanners are suitable when the workflow is narrowly defined around conventional product barcodes. This can still make sense for specialized installations where cost and a known barcode format are the primary considerations.
A 2D imager, however, is generally better suited to multi-purpose self-service equipment because it can handle both traditional barcodes and two-dimensional codes such as QR.
That matters because many customer journeys now cross between physical and digital channels.
A user might:
- scan a product barcode;
- present a QR coupon from a phone;
- retrieve an online order;
- scan a loyalty membership code;
- validate an electronic ticket; or
- identify a reservation.
A kiosk designed only around today’s 1D workflow may therefore become restrictive when new functions are introduced later.
The decision should be based on required symbologies and workflow rather than simply choosing the scanner with the longest specification sheet.
3. Smartphone Scanning Deserves Separate Testing
One of the most common mistakes in scanner selection is assuming that reading a printed QR code and reading the same QR code from a phone are equivalent tasks.
They are not always equivalent in a real kiosk environment.
Phone displays introduce variables such as screen brightness, reflections, cracked glass, privacy protectors, dark-mode interfaces and different display technologies. Users also present phones at inconsistent distances and angles.
For a QR scanner kiosk, testing should therefore include several real mobile devices rather than a single ideal test image.
Try different screen sizes, brightness settings and QR-code dimensions. Test older phones as well as current models. If customers may use digital wallets, e-tickets or mobile membership apps, use examples generated by those actual applications whenever possible.
The goal is not simply to prove that the scanner can decode a QR code. The goal is to determine whether an ordinary customer can complete the scan naturally without repeatedly moving the phone back and forth.
4. Scan Distance and Field of View Affect the Enclosure
Scanner specifications are often evaluated independently of kiosk mechanical design. That can create problems later.
A scanner module installed behind a metal front panel or protective window has a different working environment from a handheld scanner sitting on a desk.
Consider the expected reading distance.
If the scanner is recessed too deeply inside the enclosure, users may unknowingly hold the code outside the effective reading zone. If the opening is too narrow, the enclosure itself can restrict the scanner’s field of view.
Large codes and small codes can also behave differently at the same distance.
For this reason, the scanner should ideally be evaluated together with the intended front-panel geometry during prototype development.
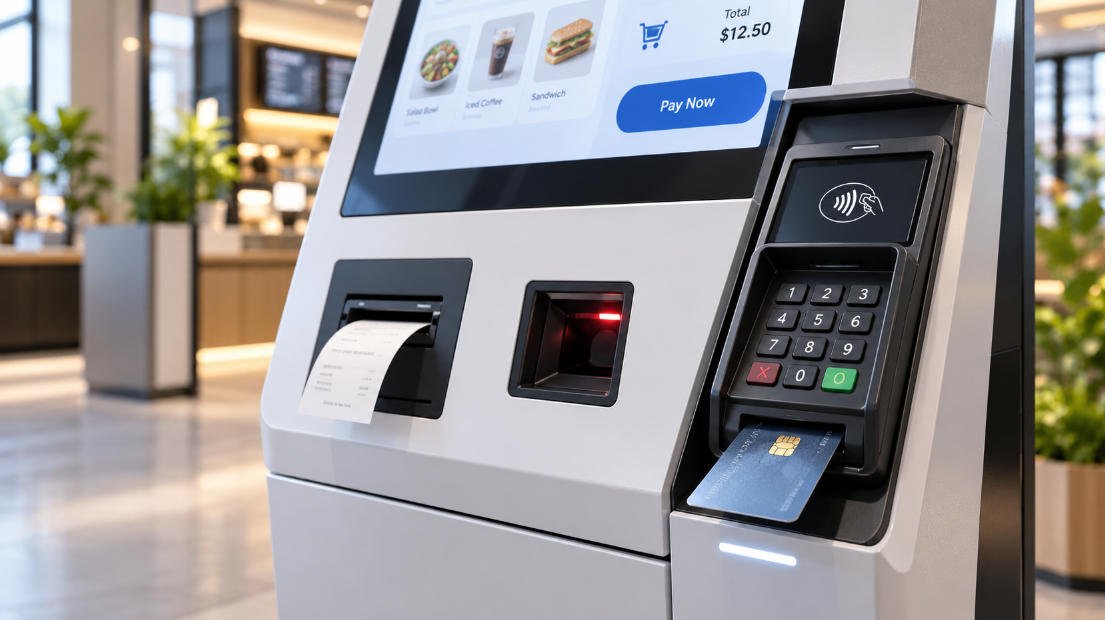
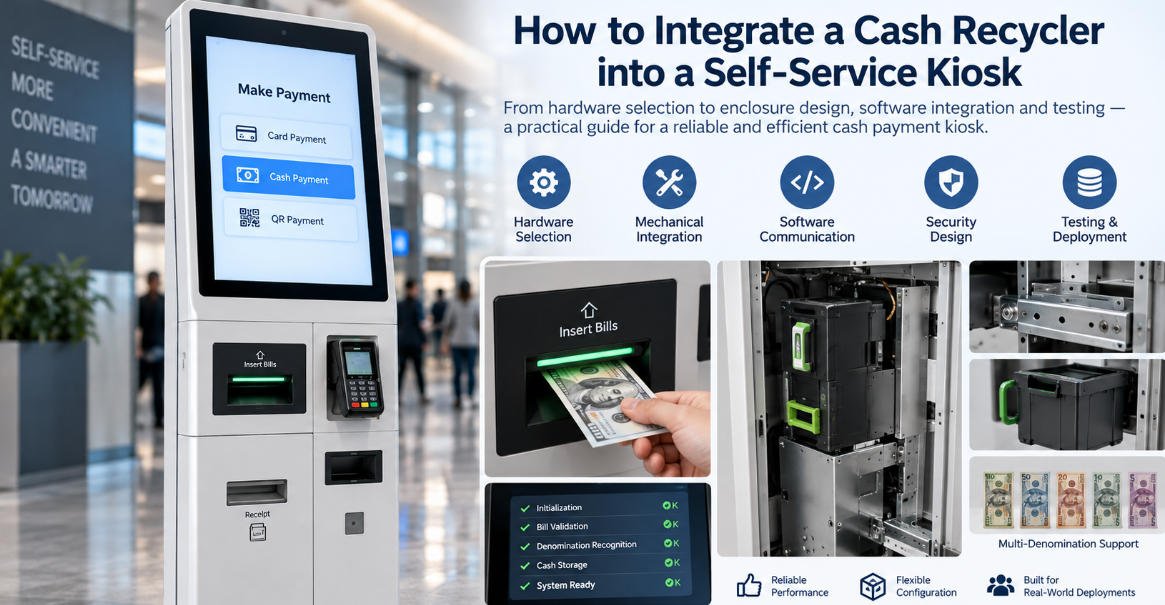
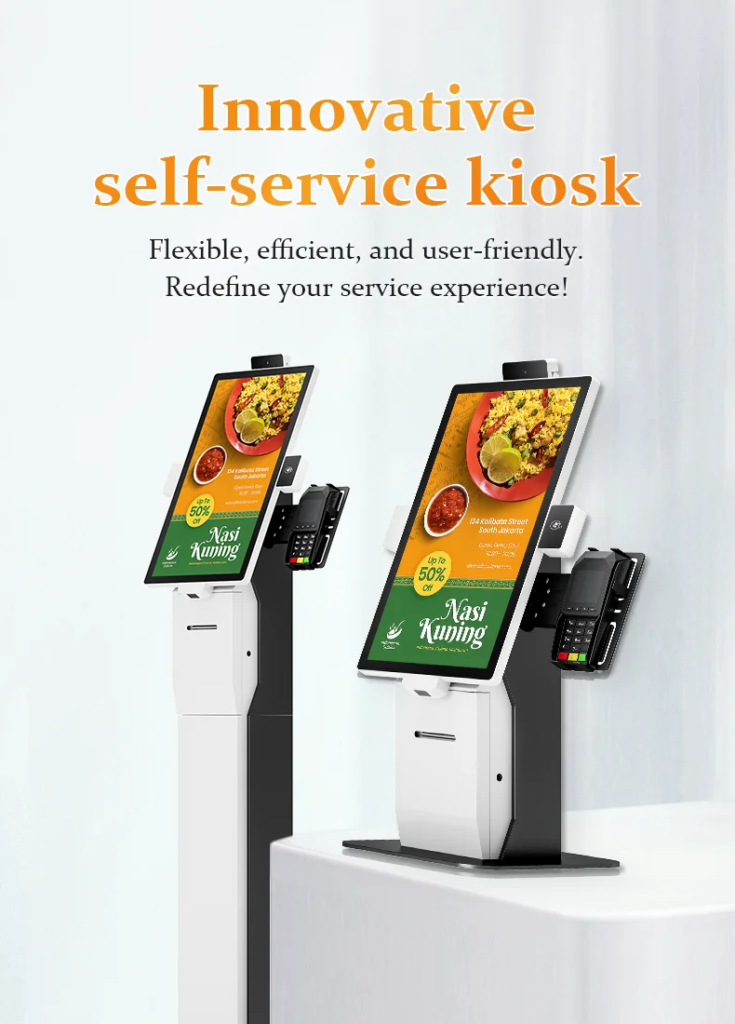
AONKIOSK’s OEM & ODM self-service kiosk manufacturing approach includes peripheral integration such as QR and barcode scanners alongside displays, printers, payment terminals, NFC readers and other modules. For a custom kiosk, this allows scanner positioning to be considered as part of the mechanical architecture rather than added after the enclosure has already been designed.
5. Scanner Position Is a User-Experience Decision
A technically powerful scanner can still deliver a poor experience when mounted in the wrong place.
Imagine a customer standing in front of a kiosk with a phone. If the scanning window is too low, the user has to bend down. If it points almost vertically downward, the customer may struggle to understand where to present the QR code. If it is positioned immediately beside another reader, users may not know which area to use.
Placement should follow the transaction sequence.
For example, a ticketing workflow might be:
Scan reservation → confirm booking → make payment if required → print ticket.
A retail workflow might instead be:
Scan products → review basket → apply membership or coupon → pay → collect receipt.
The physical position of the scanner should make sense within that sequence.
Visible guidance around the scanning area can help, but good mechanical design should reduce the amount of instruction users need in the first place.
6. Evaluate Ambient Light and Reflections
Lighting conditions are easy to underestimate during development.
A scanner that performs perfectly in an engineering room may behave differently near a shop window, beneath strong retail lighting or in a transportation terminal with changing daylight.
The scanner window itself also matters.
Adding transparent material in front of the scan engine may protect the module and create a cleaner enclosure surface, but the material, coating, angle and distance from the scanner can influence optical performance.
Reflections are particularly relevant when both the scanning window and the customer’s smartphone screen are glossy.
During prototype testing, evaluate the kiosk in conditions that resemble the final installation—not only under controlled factory lighting.
For semi-outdoor or outdoor projects, environmental testing becomes even more important because sunlight can be substantially more demanding than normal indoor illumination.
7. Embedded Module or External Scanner?
Most purpose-built kiosks use an embedded scan engine or fixed-mount scanner rather than a conventional handheld reader.
An embedded scanner generally produces a cleaner appearance, occupies less external space and is harder for users to move or damage. It also allows the manufacturer to design a defined scan zone.
However, some applications benefit from handheld or externally accessible scanners.
Retail is a good example. Customers may need to scan large, heavy or awkward products that cannot conveniently be brought to a fixed scan window. In those situations, a handheld scanner, presentation scanner or a combination of fixed and handheld scanning may be more practical.
For standard QR tickets, coupons, membership codes and documents, fixed integration is usually simpler.
The correct architecture comes from observing what users are scanning—not from assuming that every kiosk should use the same module.
8. Check Communication Interfaces and Software Compatibility
Mechanical compatibility is only half of scanner integration.
The scanner also needs to communicate reliably with the kiosk computer and application.
USB is common in kiosk projects, while some industrial applications may use serial interfaces. Depending on the scanner, operating modes can include USB HID keyboard emulation, USB virtual COM or other manufacturer-specific interfaces.
Before approving the scanner, confirm:
- required interface;
- operating-system support;
- driver requirements;
- SDK or API availability where necessary;
- configuration utilities;
- data output format;
- prefix and suffix settings;
- trigger mode; and
- behavior after reboot or power loss.
This becomes particularly important when the kiosk software expects a specific input method.
A scanner working in keyboard-emulation mode, for example, may be extremely easy to integrate for one application but inappropriate for another application that requires direct device control.
The scanner should therefore be selected jointly by the hardware and software teams.
9. Trigger Mode Matters in Unattended Operation
A handheld scanner is normally triggered by the operator. A self-service kiosk does not have an employee standing beside it.
Most kiosk applications therefore require automatic or presentation-based scanning.
The scanner remains ready and attempts to decode a barcode when it enters the reading area. This creates a much more natural customer interaction.
But continuous scanning introduces its own questions.
How quickly does the scanner wake? Can it accidentally read a code elsewhere on the screen or nearby printed material? Does the illumination remain active continuously? Can the software temporarily enable or disable scanning at different stages of the transaction?
These details should be validated against the actual user interface.
A scanner should not merely work; it should become active at the correct point in the customer’s journey.
10. Consider the Application Environment
A kiosk barcode scanner used in a quiet hotel lobby faces different conditions from one installed in a supermarket or busy transport terminal.
Retail environments prioritize fast repetitive scanning. Ticketing installations may prioritize reliable smartphone QR recognition. Restaurants introduce grease and frequent surface cleaning. Public-service kiosks may need to process a wider variety of printed documents and mobile codes.
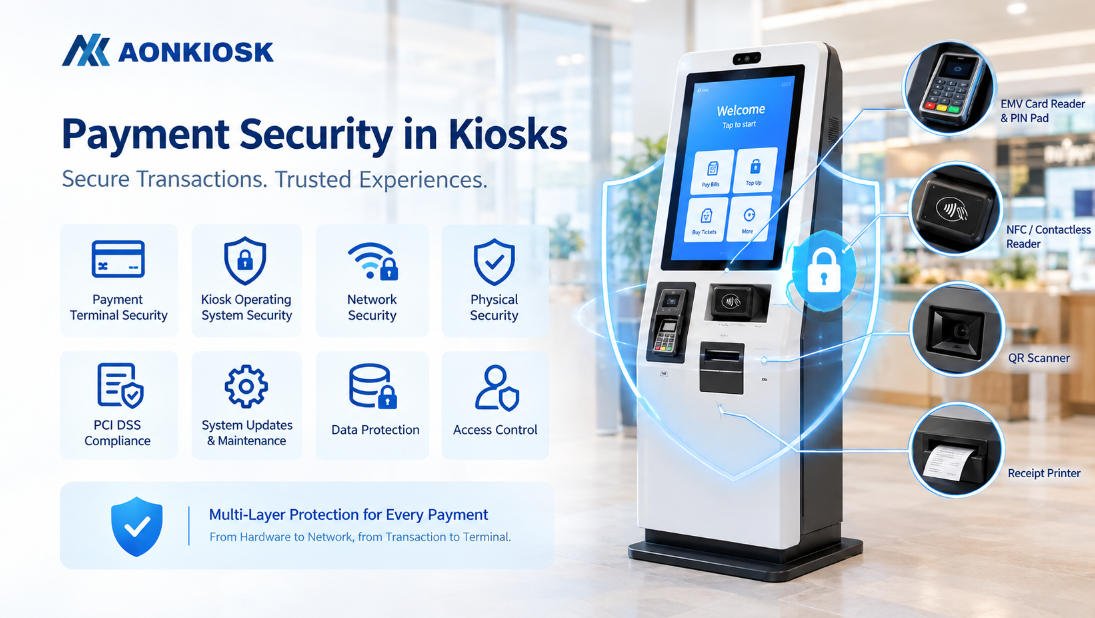
AONKIOSK’s Retail & Payment Kiosks can be configured with scanner, payment and printing modules for self-service transaction workflows, while Ticketing Kiosks use barcode or QR functions in workflows involving electronic tickets, booking references and access systems.
The scanner specification should follow these application differences.
Also consider cleaning requirements, operating temperature, dust exposure, vibration and the expected number of scans per day. Commercial deployment is a different environment from occasional desktop use.
11. Design for Maintenance and Replacement
Scanner integration should never make servicing unnecessarily difficult.
Even reliable components can eventually require replacement, and a peripheral model may change during a kiosk’s product lifecycle.
A good internal design provides technicians with reasonable access to the scanner mounting points, cable connection and surrounding structure without requiring them to disassemble most of the kiosk.
Modular mounting can also make future component substitutions easier.
This matters especially for fleets expected to remain in operation for several years. The exact scanner available during the prototype stage may eventually be discontinued or replaced by a newer revision.
Before mass production, ask:
Can the scanner be removed independently? Is the cable accessible? Does replacement require removing the touchscreen? Can a similar module fit the existing mounting structure? Will a scanner change require a new front panel?
Thinking about these questions early can reduce future field-service costs.
12. Prototype Testing Should Use Real Codes and Real Users
The final scanner should be approved in the assembled kiosk—not only on a component bench.
Build a practical test set containing the types of codes the kiosk will encounter after deployment.
Include:
- small and large barcodes;
- low-contrast printing;
- slightly wrinkled tickets;
- glossy labels;
- different smartphone displays;
- low phone brightness;
- cracked or protected screens;
- codes presented at different angles;
- realistic ambient lighting; and
- repeated scans during a complete transaction.
Measure more than whether the scan eventually succeeds.
Observe how long it takes, whether users instinctively find the scanning area, how often they reposition the code and whether the scanner reads unintended codes.
This type of testing often reveals mechanical or usability issues that cannot be found by reading a scanner datasheet.
A Practical Scanner Selection Checklist
Before approving a scanner for production, the project team should be able to answer these questions:
Code requirements: Which 1D and 2D symbologies must be supported?
Media: Will users scan paper, labels, smartphone screens, identity documents or several of these?
Reading geometry: What code sizes, distances and presentation angles are expected?
Environment: Will the kiosk operate indoors, near windows, semi-outdoors or outdoors?
Integration: What communication interface and operating mode does the software require?
Mechanical design: Is the scanner’s field of view clear after installation?
User workflow: Is the scanning position intuitive and accessible?
Maintenance: Can technicians replace the module without major disassembly?
Validation: Has the complete assembled kiosk been tested with realistic codes, devices and lighting?
If any of these answers are unclear, scanner selection is probably not finished.
Final Thoughts
Choosing between scanner models should be one part of a larger integration decision.
For many modern deployments, a 1D/2D imager provides useful flexibility because the same kiosk may encounter product barcodes, mobile QR codes, tickets, coupons and membership identifiers. But specification alone does not guarantee good field performance.
Reading distance, field of view, smartphone compatibility, ambient lighting, mounting angle, protective windows, software interface and service access all influence the final result.
The best time to solve these issues is during kiosk design and prototype validation—not after hundreds of cabinets have been manufactured.
For custom projects, AONKIOSK can integrate barcode and QR scanning together with touch displays, printers, payment terminals, NFC readers and other peripherals as part of a complete kiosk hardware configuration. Defining the actual scanning workflow first gives the engineering team a much stronger foundation for selecting the scanner and designing the enclosure around it.