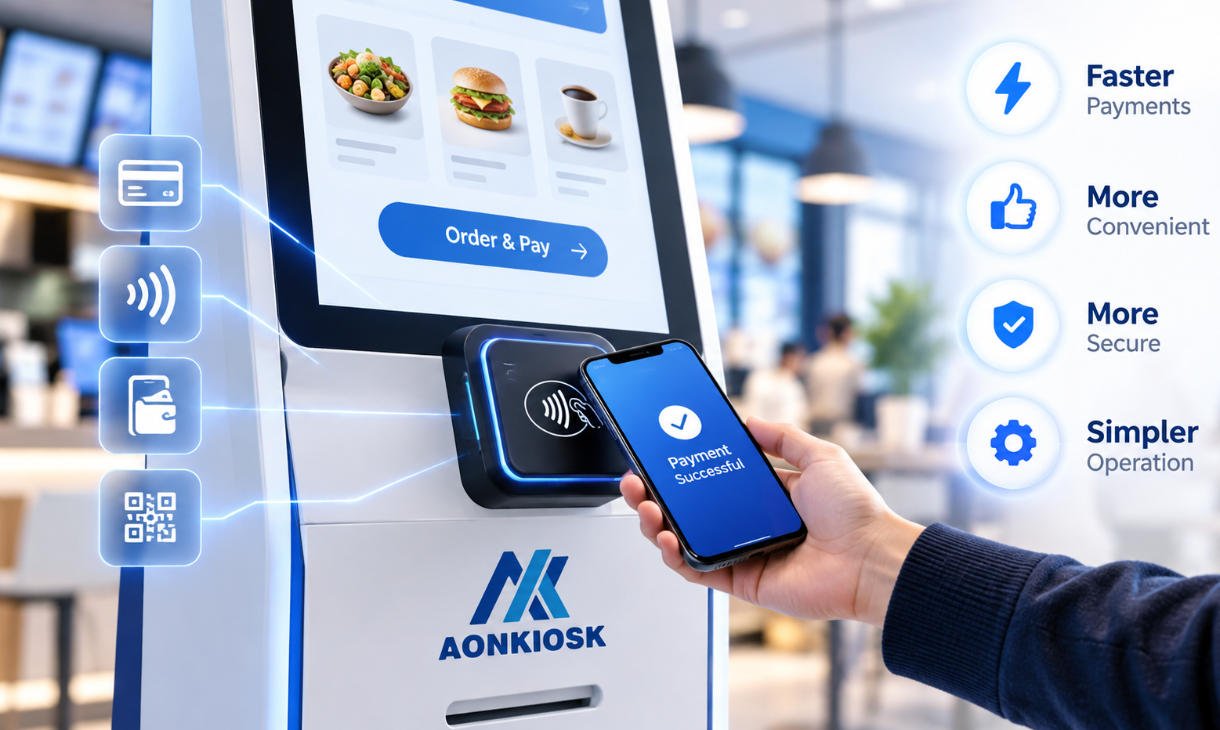






To install a self-service kiosk, first select a suitable location, check the power and network requirements, and secure the kiosk using the appropriate floor, wall, or countertop mounting system. Next, connect the electrical and communication cables, configure the operating system, and test the touchscreen, printer, scanner, and payment terminal. Before putting the kiosk into service, confirm that it is mechanically stable, electrically safe, and operating correctly.
The exact installation procedure depends on the kiosk model, mounting structure, and installed hardware. This guide covers the general installation process for commercial AONKIOSK self-service terminals.

1. Check the Kiosk Before Installation
Before unpacking the equipment completely, inspect the shipping carton for visible damage.
Confirm that the package contains the required components:
- Kiosk main unit and mounting accessories
- Power cable or external adapter
- Installation brackets and approved fasteners
- Keys for maintenance access
- Configuration documents, where supplied
Inspect the touchscreen, enclosure, connectors, and peripheral mounting positions.
If damage or missing components are found, document the condition before proceeding.
2. Choose a Suitable Installation Location
The installation location affects both user accessibility and equipment reliability.
Consider the following requirements:
- Floor or wall strength: The supporting structure must accommodate the complete kiosk weight.
- Power availability: Use an electrical supply matching the kiosk’s rated input.
- Network access: Check Ethernet, Wi-Fi, or cellular connectivity.
- Ventilation: Keep cooling openings unobstructed.
- Accessibility: Position the touchscreen and peripherals within applicable user-reach requirements.
- Maintenance space: Allow technicians to open service doors and replace consumables.
Avoid excessive moisture, direct heat sources, and unstable mounting surfaces.
Outdoor installations require additional environmental protection. Refer to the Outdoor Kiosk Requirements guide for weatherproofing and environmental considerations.
3. Install the Kiosk Mounting Structure
Different kiosk structures require different installation methods.
Floor-Standing Kiosk Installation
Position the kiosk on a level, load-bearing surface.
Check the base alignment and identify the designated floor-fixing holes. Where anchoring is required, use approved anchors suitable for the floor construction and equipment load.
Secure the kiosk according to its installation drawing and verify that the enclosure does not rock during normal touchscreen operation.
For structural details, see the Floor-Standing Kiosk Structure Guide.
Wall-Mounted Kiosk Installation
Identify a structurally suitable wall and confirm its load capacity.
Mark the mounting positions using the supplied bracket template. Install the correct anchors, attach the mounting bracket, and lift the kiosk into position using an appropriate handling method.
Secure all retaining screws or anti-lift mechanisms.
The Wall-Mounted Kiosk Structure Guide explains bracket positioning, mounting support, and maintenance access.
Countertop Kiosk Installation
Place the terminal on a stable counter and install its designated fixing hardware where required.
Keep the touchscreen accessible and route cables away from customer contact areas.
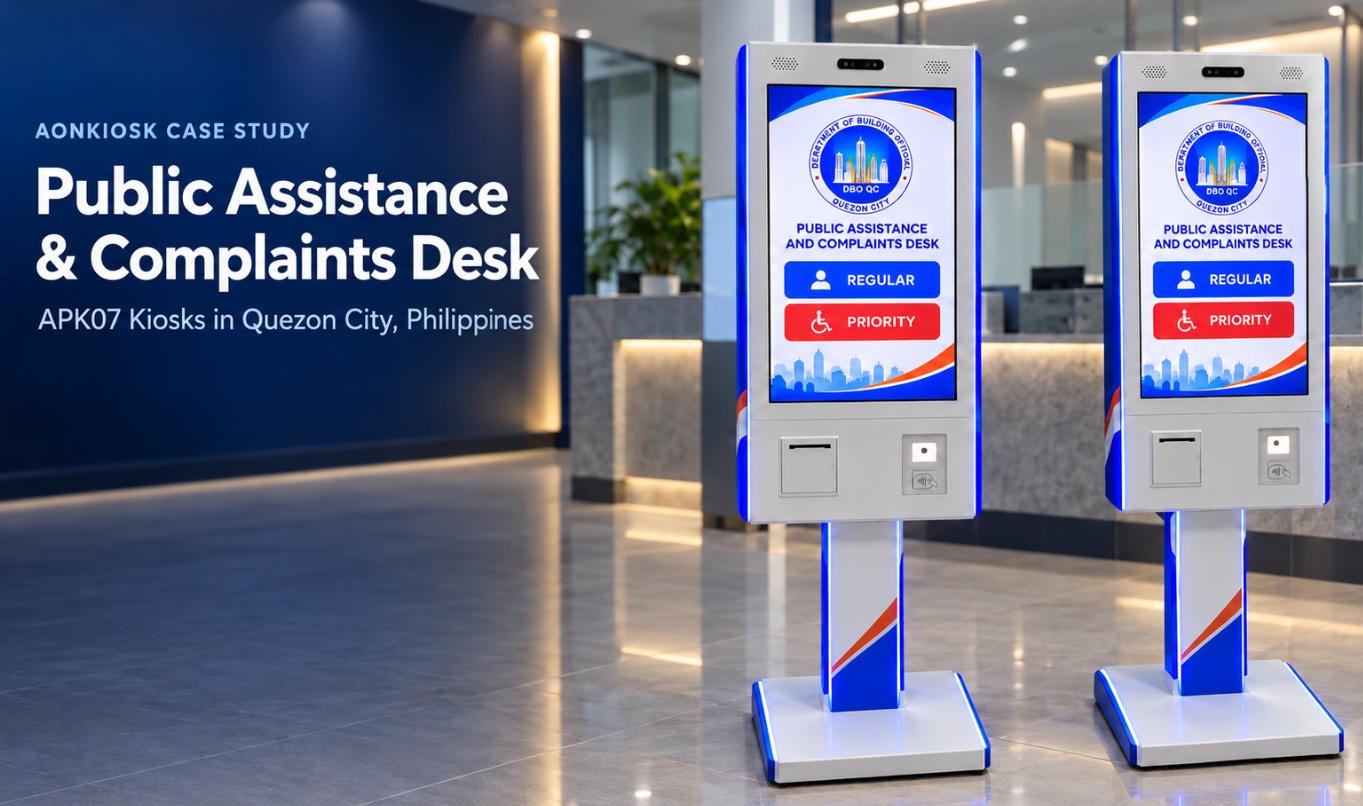
Some configurations, including the APK06 Restaurant Self-Ordering Kiosk, support multiple mounting arrangements. Always follow the documentation for the specific configuration supplied.
4. Connect Power and Network Cables
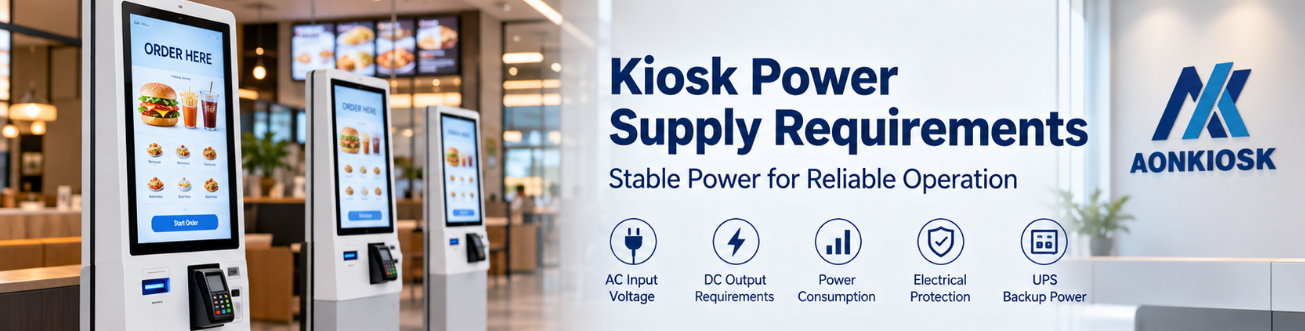
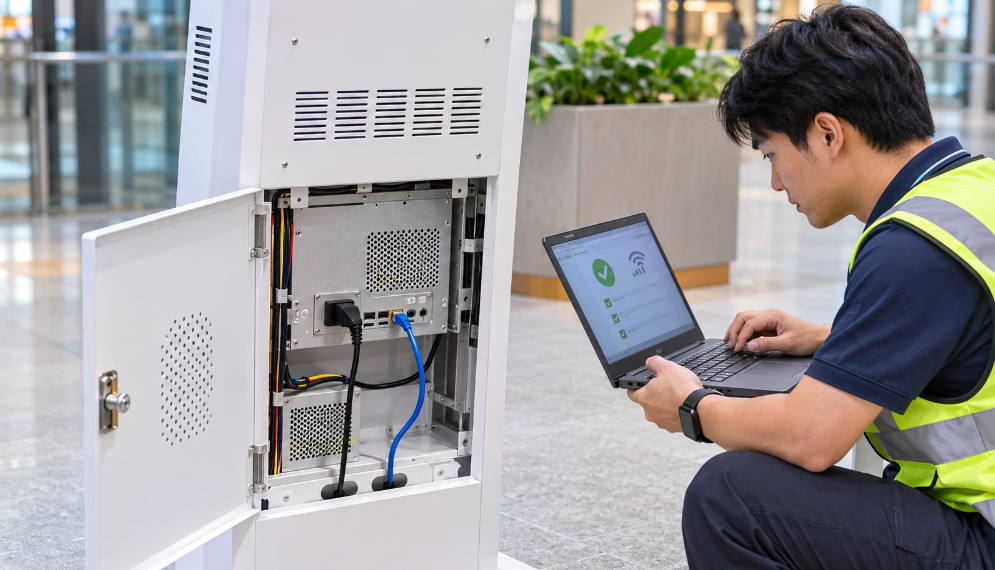
Before connecting power, verify that the electrical supply matches the kiosk’s rated voltage and frequency.
Check that protective grounding and circuit protection meet the approved electrical design.
Connect the power cable through its designated entry point. Avoid sharp bends, exposed wiring, or cable contact with moving components.
Mains wiring and grounding work must be performed by qualified personnel.
For electrical specifications, consult Kiosk Power Supply Requirements.
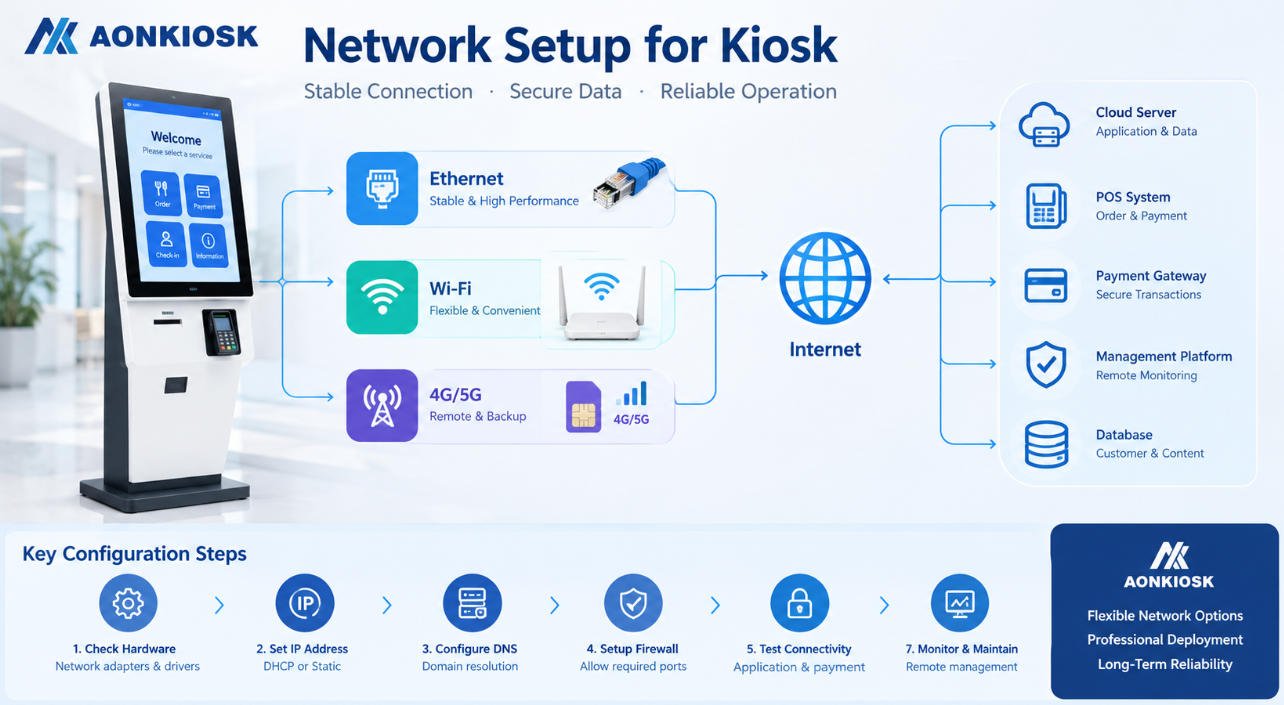
Connect the Ethernet cable or configure the supported wireless connection. Confirm that the kiosk can reach the required application server or backend system.
5. Configure the Kiosk Software
Power on the kiosk and allow the operating system to complete its initial startup.
Depending on the installed Windows or Android platform:
- Verify the display resolution and touchscreen response.
- Configure network settings and system time.
- Install the required kiosk application and supported peripheral drivers.
- Set the application to launch automatically if required.
- Configure restricted user access and security updates.
Application deployment and licensing procedures depend on the software provider.
6. Test All Kiosk Functions
Before allowing public use, perform a complete functional test.
| Component | Required Test |
|---|---|
| Touchscreen | Verify touch accuracy and response |
| Display | Check brightness and image stability |
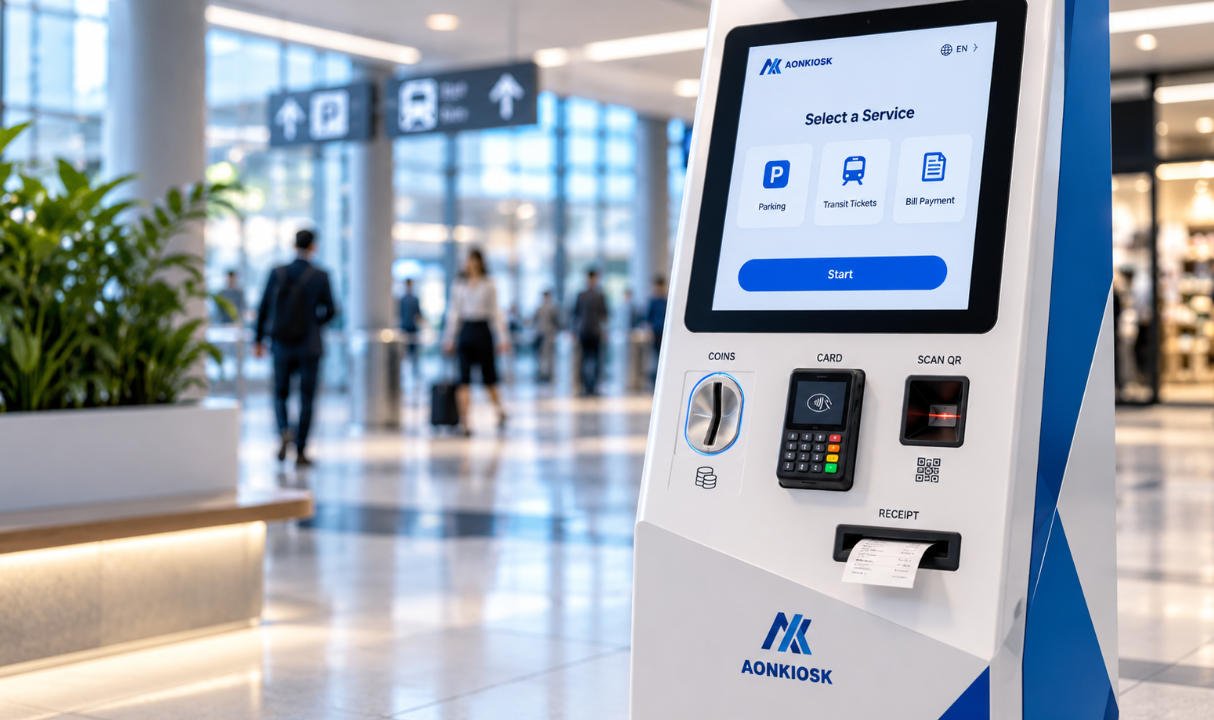
| Receipt printer | Print and cut a test receipt |
| QR/barcode scanner | Scan supported sample codes |
| Payment terminal | Complete an approved test transaction |
| Network | Verify stable server communication |
| Enclosure | Check locks, stability, and ventilation |
Test the complete customer workflow, not just individual devices.
7. Troubleshoot Common Installation Problems
| Problem | Recommended Check |
|---|---|
| Kiosk does not start | Check external power, switch, and supply availability |
| Touchscreen is unresponsive | Check touch controller and driver configuration |
| No network connection | Verify cabling, IP settings, and server access |
| Printer does not work | Check paper, connections, and printer status |
| Kiosk is unstable | Stop use and inspect the mounting arrangement |
Do not open energized electrical compartments or modify structural anchors without qualified assistance.
8. Final Installation Checklist
Before completing the kiosk installation, confirm:
- The kiosk is securely mounted and mechanically stable.
- Power connections and grounding have been verified.
- Network connectivity is operational.
- All peripheral devices pass functional testing.
- Cables, ventilation openings, and maintenance access are unobstructed.
- Application startup, shutdown, and recovery procedures work correctly.
Record the kiosk model, serial number, installed hardware, software version, and installation location for future maintenance.
AONKIOSK Installation Support
AONKIOSK provides configurable self-service kiosk hardware for restaurant ordering, retail payments, check-in, ticketing, and information services.
Installation details may vary according to the enclosure design, mounting configuration, and integrated peripherals.
For model-specific installation instructions or technical assistance, contact AONKIOSK with the kiosk model, hardware configuration, and a description of the installation environment.